MySQL is a popular open-source relational database management system (RDBMS) that is widely used for web applications and other data-driven projects. It is known for its reliability, scalability, and ease of use, making it a top choice for developers and businesses alike. In this article, we will discuss how to install MySQL in Debian and Ubuntu, two of the most popular Linux distributions.
Why Choose Debian and Ubuntu for MySQL?
Debian and Ubuntu are both Linux distributions that are widely used for server and desktop environments. They are known for their stability, security, and large community support. These factors make them ideal choices for hosting MySQL, as it requires a stable and secure environment to run smoothly.
Moreover, both Debian and Ubuntu have official repositories that contain the latest versions of MySQL, making the installation process much easier and hassle-free. Let’s dive into the steps of installing MySQL in these two distributions.
Installing MySQL in Debian
Debian has a package manager called apt that allows users to easily install, update, and remove software packages. This makes the installation of MySQL in Debian a straightforward process.
Step 1: Update the System
Before installing any new software, it is always recommended to update the system to ensure that all packages are up to date. To do this, open the terminal and run the following command:
sudo apt update && sudo apt upgrade
Step 2: Install MySQL
Once the system is updated, we can proceed with the installation of MySQL. To install the latest version of MySQL, run the following command in the terminal:
sudo apt install mysql-server
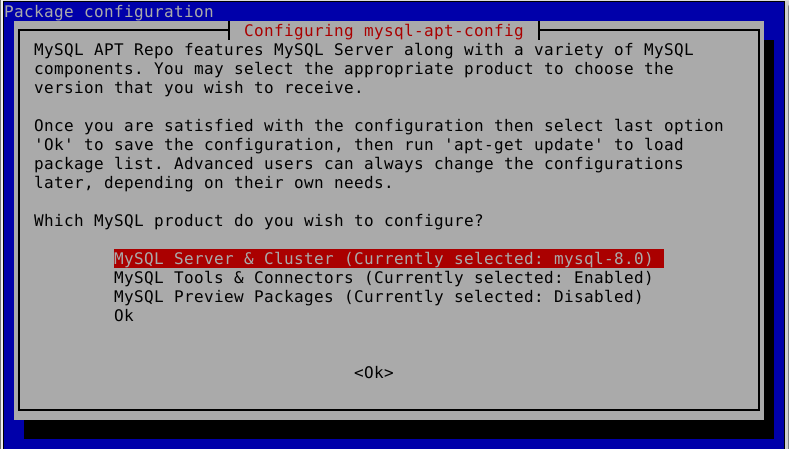
This will install the MySQL server and client, along with other necessary dependencies. During the installation process, you will be prompted to set a root password for MySQL. Make sure to choose a strong password and remember it for future use.
Step 3: Secure MySQL Installation
After the installation is complete, we need to secure our MySQL installation by running the following command:
sudo mysql_secure_installation
This will prompt you to set a root password, remove anonymous users, disallow remote root login, and remove test databases. It is recommended to answer “Y” to all the prompts for a secure installation.
Installing MySQL in Ubuntu
The process of installing MySQL in Ubuntu is similar to that of Debian, as Ubuntu is based on Debian. However, there are a few minor differences that we will cover in this section.
Step 1: Update the System
As with Debian, the first step is to update the system using the following command:
sudo apt update && sudo apt upgrade
Step 2: Install MySQL
To install MySQL in Ubuntu, we need to run the following command in the terminal:
sudo apt install mysql-server
During the installation process, you will be prompted to set a root password for MySQL, just like in Debian.
Step 3: Secure MySQL Installation
Securing the MySQL installation in Ubuntu is the same as in Debian. Run the following command to secure your installation:
sudo mysql_secure_installation
Verifying MySQL Installation
After the installation is complete, we can verify if MySQL is running by using the following command:
systemctl status mysql
If MySQL is running, you will see the status as “active (running)”. You can also check the version of MySQL installed by running the following command:
mysql --version
Conclusion
In this article, we discussed how to install MySQL in Debian and Ubuntu, two of the most popular Linux distributions. We saw that the installation process is similar in both distributions, thanks to their package managers. We also learned how to secure our MySQL installation for better security. With MySQL successfully installed, you can now start using it for your web applications and other data-driven projects with ease.
Remember to always keep your system and MySQL installation up to date for optimal performance and security. Happy coding!